Showing posts with label Craft. Show all posts

Thursday, March 8, 2012

Dimitri...Canvas

Sometimes, there are things that only make sense to me and maaaybe one other person. (That I actually know.) The movie Dr. Strangelove and some of the quotes from it is one of those things. =)

Take a plain canvas.
Select the size lettering you want. I used 2 or 3 inch Vinyl stickers.
Its advisable to use a ruler to get your letters even...but I was in a hurry that day!
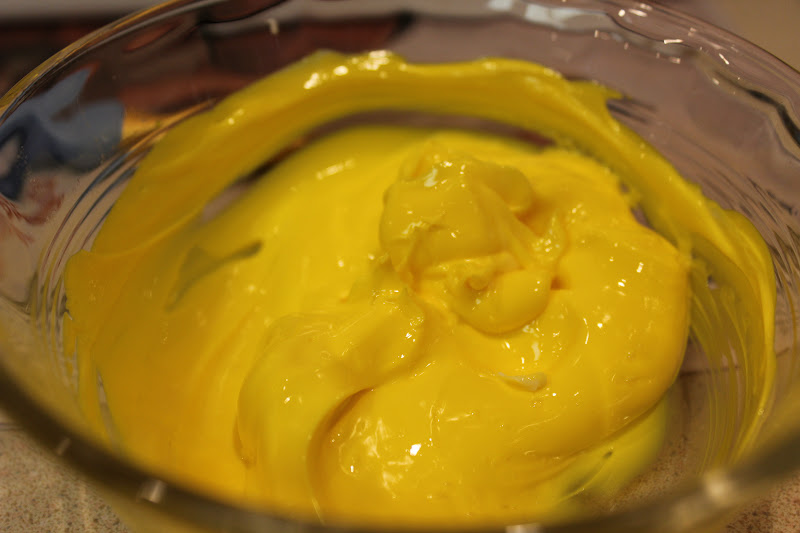
To make my canvas at least a little different from all the others like this out there, I took heavy gloss gel...
And added paint to it.
This gives you more thickness and texture. (I'm all about me some texture.)
Because Dr Strangelove is about a bomb, I wanted it to look rough and in some ways mimic an explosion.

Once the yellow was dry, I painted over the center and letters with black.
Carefully I peeled away the letters once the whole thing was dry.


Its a great way to make something like an inside joke, favorite quote or lyric into "art" that you can put up in your home...and get a smile out of every time you see it! =)


Happy Creating!

Loves!
~Kels


Thursday, February 23, 2012

Clutches and Cases

Before Christmas I decided to finally try my hand at making a hand bag. The simplest style I know of is the envelope.

Here is my first clutch. I've had this leather (really dont think it's real.) for almost two years and finally decided what to do with it. Not too shabby for my first try.

This is a much smaller version for a Kindle.

And lastly the clutch I made for my sister. With a strip of scrap I made a little matching card holder since  you never know if your wallet will fit.

Well there's a look into my most recent endeavors. =)
Very soon I'll try my hand at a more Hobo style bag with the chevron patterned fabric shown in my * Favorites Friday * post.


Happy Creating!

Loves!
~Kels


Sunday, February 19, 2012

Goals - Second Update

I am very proud and excited to get to cross another item off my * Goal List *!

24. Sell my first handmade item

A woman from my church saw my * Christmas Pillow * and asked me to maker her one. When I contacted her before I went to pick out fabric she went ahead and asked me to make a second. So thank you, Elanor! And way to go on getting your Christmas gifts taken care of WAY early!


Enjoy, Elanor. I hope you like them.

Here's to hoping for the opportunity to make more for others!

Loves!
~Kels

Wednesday, February 15, 2012

Sweatshirt Re-Vamp

I recently finally finished my sister's Christmas/Birthday presents. Yes, yes I know...suuupper late! It's kinda a thing with us. One thing I made for her was an upcycled shirt.

Upcycled tends to mean turning something you already have into something new. Well, I didnt have anything laying around that fit the bill, so I went and got a white long sleeve shirt. I had seen this DIY on * A Beautiful Mess * a few months back and thought I'd give it a shot. I love Elsie's blog (It's honestly what truly inspired me to get mine going. After seeing it things really clicked you could say.)

It looks cuter on than it does just hanging there, but I'm not as "blessed" in a certain area as she is, so I was totally falling out. (TMI. I know, I know!) Hopefully it'll look great on her and I'll get a picture of it soon. =)

Here's the link to the DIY

Happy Creating!

Loves!
~Kels

Thursday, February 2, 2012

Lightning McQueen Decopage

A while back my son picked out a Cars magazine that was in comic strip form of the Pixar movie. As with any magazine that lands around babies...it began to get destroyed. I knew how much he loved it and how much he just loves McQueen! So I went around and picked up every remnant I could find, grabbed one of my blank canvases, and some Modge Podge. =) I dont have pictures of the process, but I have some of the end result.
Using a paint brush or sponge, brush Modge Podge onto canvas after cutting and selecting your pictures. Layer back and forth between the Modge Podge and the pictures.
I took a lot of the pictures and wrapped them around the edges of the canvas to use up as much space and have as little canvas visible as possible. I will probably still go back and fill in areas.


You could have your kids join with you or even do this as a project on their own if they're a little older. If they're younger they can help you pick their favorite pictures to use. This was a great way to make "Art" for T's room while recycling...or upcycling...something I already had literally laying around the house. =) Cant beat free art!!

Happy Creating!

Loves!
~Kels

Thursday, January 19, 2012

DIY Feather Headband

These head bands arent new, but I'm still excited to have finally made a couple myself. When browsing through Michael's, I found a couple feather pieces that were basically ready to go. All I had to do was attach them to something. Since often regular headbands can hurt my head, I opted for the stretchy elastic ones. If these are the type you go with, be sure that you get the no-slip kind!

Cut yourself a piece of felt that matches the shape of your piece. Heat up the glue gun!

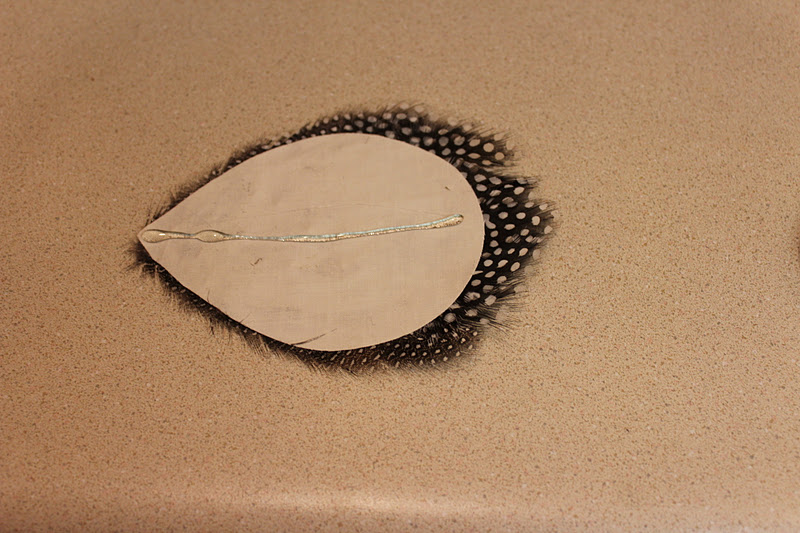
Lay out a strip of hot glue across your feather piece and carefully press the elastic band across it. Let set and cool a minute or two.

Apply glue to the felt all the way around the edges and throughout the center. Flip, and carefully press onto the back of the feathers and over the band.

Here's all the steps shown:


With the thin band, it looks more like a fascinator than an actual head band.
C'mon girls! Lets bring back the hats and fascinators of days past! hehe


Happy Project Thursday!

Loves!
~Kels

Thursday, December 29, 2011

Christmas Crafty Pillow

Yes, Christmas is over. But I thought I'd share the poinsettia pillow I made for my Aunt for Christmas. It was very simple and I can see myself making several variations of it so it isnt just a Christmas-only decoration.

I started out picking a pillow from the fabric store. Once you choose your pillow, you can determine how much fabric you will need. I was lucky and found a remnant that worked perfectly. Its a sort of suede-like material. Next I picked up red and green felt squares and after much deliberation-and multiple trips to the store- I finally chose beads that I wanted to use.


Since I only had about an hour for this project and it isnt an article of clothing, I opted out of washing and drying the fabric. I instead ironed out the fold creases. Always start with ironed fabric before cutting. I laid my pillow on the fabric and cut two squares, giving myself extra room for seam allowances, about 1/4 inch. Lay right sides of fabric (the sides you want showing on the outside when your pillow is complete) together and pin three sides. Sew three sides together. Flip right-side out. Take your felt squares and cut out your leaves and petals and lay them on the pillow or fabric to see how you want them to lay.


After three of four attempts of trying to hand sew through all the layers of felt to attach it to the fabric-while also bending my needle!- I ended up stitching them on one layer at a time. I did the petals first attached the leaves last in case the petals shifted. Next I sewed on the beads in the center of the smallest petals. Once the flower was complete, I stuffed the pillow inside it's new case. It was incredibly snug and I couldnt even get the fourth side closed. I had a baby melt down and then decided to remove the polyfil from the pillow and hand stuff it into the case. To do this, I flipped the case inside out again (carefully) and sewed the fourth side closed, leaving 3 or 4 inches to stuff. Once the pillow is completely stuffed, you must hand stitch the rest of the opening closed. I'm not going to lie, its something I need practice on. But it being my first pillow, I was pleased with how it came out. : )


My Aunt loved it. She thinks I could-and should-sell them. From her mouth to God's ears. hehe

Happy creating!

Loves,
~Kels