Showing posts with label Gluten Free. Show all posts

Monday, June 11, 2012

Simple Yumminess!

Corned Beef can be an easy and simple dinner option, so definitely don't forget about it! I made some just the other day, and I was looking forward to what I was going to do with the left overs even before it was done cooking in the crock pot.
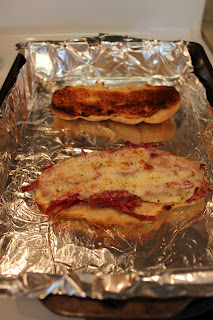

 A super simple sandwich of strips of Corned Beef, slices of provolone cheese, a little Lawry's Garlic Salt and a good hoagie bun. Toss it all under a broiler for just three or four minutes. To keep your top bun from getting a little well done like mine did that time, try leaving it out for a minute or two while the beef warms and the cheese melts and browns slightly then toss it in. And if it still ends up toasting more than you like, it's easy to take a butter knife and gently scrape off the darker areas.

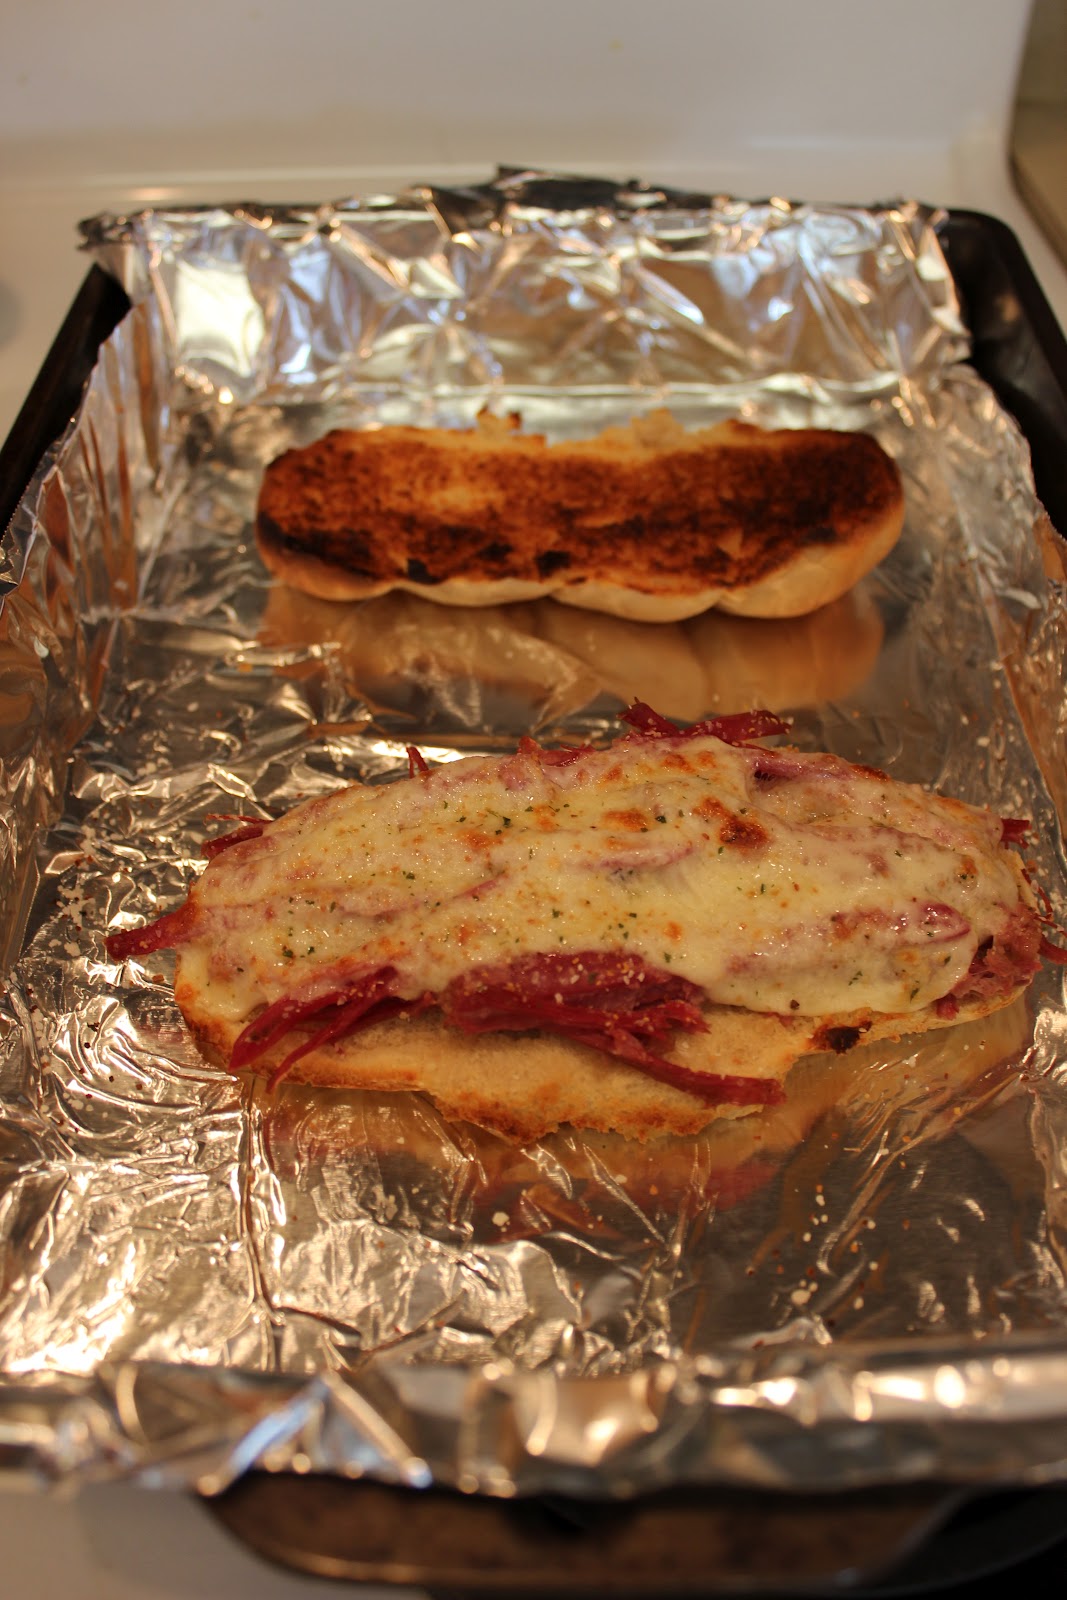

Super duper easy! AND if you have gluten free bread or hot dog buns, this can work for you! Just keep in mind that when buying prepackaged Corned Beef from the grocery store that has the spice packet included, the cut of the meat will determine your cost. (Aside from the weight.) There is flat cut and point cut. Point cut is often cheaper. When you put it in your crock pot, put it fat side up so the fat will melt and trickle down and flavor the meat. Then all you do is cover it water and add the spice packet and turn on the pot! The cooking instructions on the package I got said 2-3 hours cook time...I prefer mine much longer, easily pulling apart in the pot. A good six hours or even overnight. Leftovers are easily stored in the fridge. =)

Happy Eatin'!

Loves!
~Kels

Monday, March 12, 2012

French Onion Soup

Recently I've been craving Panera's French Onion soup. As that can get pricey...I decided to make my own! After posting my * Chicken Stock * recipe last week, it really gave me the drive to give it a shot. So today I'll share a basic recipe of French Onion Soup.


You'll need beef broth. (You could also use vegetable or chicken stock as I've seen others use.)
A medium/large white onion and I went ahead and tried out a red onion to give a variation to the flavor.
You cant beat 5 calories and 0 fat!
Burning a candle is supposed to help keep you from tearing up when chopping onions. It worked all right until the very end and then the sting still cut through.
Slice them into "half moons" and then again in half. I used the whole white onion and half the red.
Mix the onions with salt and pepper
Crush a couple cloves of garlic if you want. You dont have to chop the garlic, just lay your knife flat across the clove and pound it with your fist. Peel away the skin and toss them in with the onions.
Melt butter over medium, medium-high heat.
Add the onions.
After a couple minutes give them all a good stir and fold them all over so each side is coated and exposed to the heat.
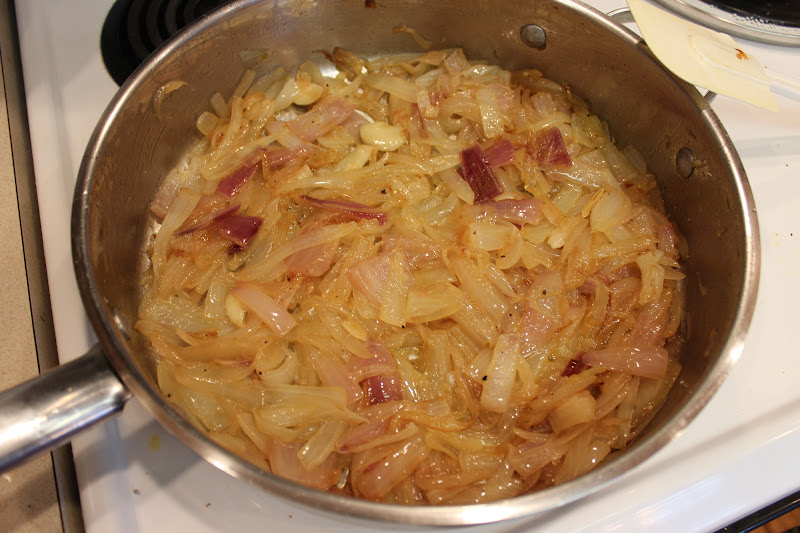
You'll start to see them become clear and tender.
This is the beginning of caramelizing! This is what really brings out the flavor of the onions.
Cover your pan and let them cook.
Be sure to give the pan a stir so the onions dont stick or burn.
You'll want them to get to about a golden brown, but you can certainly let them cook longer and get a deeper caramel color. (It's kinda crazy how much they shrink!) This is about a 30-45 minute process, so be patient. I was still able to get plenty of organizing done and hang out with T, I just had to make sure I'd stop in and give it all a good mix.
Add the broth. (I originally planned to put it all in the crock pot...but it didnt work the way I planned in the time that I had planned.)
I added a dash or two of Thyme.
A dash of crushed Bay leaves. (I never remember to get fresh herbs!)
The flavor of the broth seemed a little thin so I added two chicken bullion cubes. You could use regular broth or, again, vegetable broth.

Bring the soup to a boil for a few minutes then you can turn it down to a low heat. The longer it cooks, the better. The total time I took was just under 4 hours! (But one hour was basically wasted in the crock pot.)

Got a couple loaves of bread last night for a buck a piece, yay!! Pop one in the oven at 350 degrees for at least 6 minutes. You can also pre-slice the loaf and toast it that way.
There IS cheese in there...but it melted and sank to the bottom right when I took the picture! I used shredded mozzarella. You can use Parmesan or Asiago as well. Traditionally a piece of bread tops the soup and the cheese is melted/broiled on top. Wellll...I'm not a huge fan of soggy bread, so I skip it now and just dip my bread.

See?! Totally easy! And I made enough that I'm going to separate it and put some in the freezer for later!

Plus! Yet another Gluten Free option. =) Obviously you swap out the bread, but otherwise, you simply check to make sure your broth(s) are GF and you're good to go.

Happy Eatin'!

Loves!
~Kels


Monday, March 5, 2012

Homemade Chicken Stock

This past November I finally made something that I had been wanting to make myself at home for quite some time: Chicken Stock. It is so, so easy!! I went to Kroger one night for a quick dinner and picked up on of their Savory Rotisserie Chickens. They have a couple different kinds of seasoning, but I am a fan of the savory. This was about $5-6. After a tasty dinner, I removed as much of the meat as I could. It was my first time, so there was more bits of meat and skin than there is "supposed" to be. But hey, I was just giving it a shot!

As you can see...there's still quite a bit on the carcass. The more left on it, the more flavor it gets; but that also means it can be less healthy.
I didnt have fresh herbs/seasoning, I only had dried. I didnt want all the seasonings just floating around so I pulled open a tea bag, emptied it out and filled with my seasonings. That way I could pull them all out whenever I wanted. (I thought I was quite clever!)
The only ingredient I forgot or didnt already have was an onion. It tasted fine without it, but next time I'll include it just to get one more dimension of flavor.
Cover and Boil, then simmer for an hour or two. Keep an eye on it or it will reduce down. I did end up having to add more water to mine because it reduced a little too much. But it was good I did because it was very thick (which I like, but I was the only one. hehe) Besides, it made it a little healthier.
Give it a mix here and there so nothing will stick and it will flavor evenly.
When it was done, I wasnt sure yet what to do with it so I just stored it in the fridge. (It looks way cloudier in the picture than it did in person)


Since it was right after Thanksgiving, I still wanted something super tasty...but still light. Then it dawned on me. Dumplings!
Reheat the stock on about a medium heat.
As usual, dont over crowd! Give both sides a couple minutes for each dumpling.
Make sure it is cooked all the way through and they arent doughy in the middle still. You'll figure out the best balance for it to not still be raw or end up too hard.
And of course, yay for left overs!!

The broth is Gluten Free. (A great option of making things at home!) These dumplings werent GF, but are super easy to make. Take the GF Bisquick and follow the biscuit recipe and ta-da! You just drop the dough in by the spoon full.

Here is the recipe I used for the stock from * How Does She? *.
Now that I know the basis of how stocks are made, I'll be interested to see what else I'll manage to come up with! French Onion soup perhaps? =)


Happy Eatin'!


Loves,
~Kels

Monday, February 27, 2012

Mozzarella Bites

While I'm learning to eat healthy and figure out some newer, healthier recipes, I've got a few yummies that I havent shared yet.

I am aware of how hypocritical discussing healthy eating and then sharing a recipe for fried cheese....hehe

I simply took a block of mozzarella cheese and sliced it up. I wanted to stretch as much out of one block as I could so I made them into "bites".

You then dredge the cheese in egg, then evenly coat in bread crumbs. (Just like in my * Schnitzel Recipe *)
I allowed them to set up and come to an even temperature after coating.

I also made some Gluten Free ones for my dad! I used the same bread crumbs from that I used for his schnitzel.

Carefully place a few pieces in your heated oil. I only put in 3-4 so not to over crowd and lower the temperature of the oil. Watch carefully because it doesnt take long! Be sure to rotate each piece. Set each piece on a paper towel to absorb the excess oil. Try not to leave it on the towel too long, or it could stick like some of mine did.

Here is my first attempt. I just didnt feel like there was enough batter. I saved the rest and repeated the whole process.

The second coating looked much better.

Looked and tasted much better over all. =) 

The goal was to mimic T.G.I.Fridays mazzarella sticks, but some how mine actually ended up tasting like Pizza Hut Cheese Sticks!

I havent tried yet, but these should be very easy to make ahead for parties and put in the freezer. You'd just pop them in the oven! (Like the pre-made kinds you can get at the grocery.) I would try it out at 350 degrees for 6 minutes-depending on the size you make yours. Start short and add on if needed!


Happy Eatin'!

Loves,
~Kels


Tuesday, February 14, 2012

Cheddar Bay Biscuits

One recipe that I have been asked for the most are Cheddar Bay Biscuits...better known as Red Lobster Biscuits. I finally decided its only fair to finally share!! ;)

4 tbsp cold butter. You can either cut up your butter into pea sized bits....

Or you can use a pastry cutter to "cut" the butter into pea sized bits in 2 1/2 cups of Bisquick.
Add a heaping cup of shredded cheddar cheese.
Next add 1/4 tsp garlic powder. (Yeah, I usually use a wee bit more than that.)
Start with 3/4 cup milk. You can add a little at a time after that until it mixes. I usually end up using a smidge over a cup.

You could probably get more out of a regular batch...but I'm not going to want to have to keep going back for more when it comes to these. =)
Put in oven preheated at 400 degrees for 15-17 minutes.
In the mean time you can prepare what you'll brush on top of the finished biscuits.
This I dont actually measure... but it's safe to go with 2-3 tbsp butter.
Approx 1/2 tsp garlic powder, 1/4 tsp parsley flakes, and a pinch of salt. (I never thought it would, but the parsley makes sooo much difference!! And as before, I use a little more garlic.)
Melt- about 15-20 seconds in the microwave.
Almost ready...
Ohhhh yeaahhh...Couldnt even refrain from immediately taking a bite!

This could also be made in loaf form. Simply dump the whole ball of dough in a loaf pan. Its been quite some time since I've made it this way, but I started with the 15-17 minutes and then added time until it was done. You can then brush the garlic butter topping over the loaf or save it for each individual piece.

One last thing!! This I have very successfully made gluten free. All you have to do is swap your regular Bisquick for the GF Bisquick. You also swap butter for shortening I believe. My dad usually gets pretty excited when I make some for him!!

Happy Eatin'!!

Loves!
~Kels